Tools and Equipment (continued)
Engine Specific Tools

A good engine stand is one that you can break down into several, easy to store, pieces. Often you can rent an engine stand but considering the time the engine may be on the stand to tear down and assemble again in a few weeks or months, it may be more advantageous and less expensive to purchase one.
Jacks and Stands
Aside from the engine stand, specialty tools like micrometers (both inside and outside), valve spring compressors, dial indicators, specialty plies for E-clips, C-clips, and other special retainer clips, and a good torque wrench. Of course, if you are not a 'gear head' and this is probably a one-time restoration or rebuild, many of these tools are not necessary and those assemblies can be left to the professional you are farming the job out to.
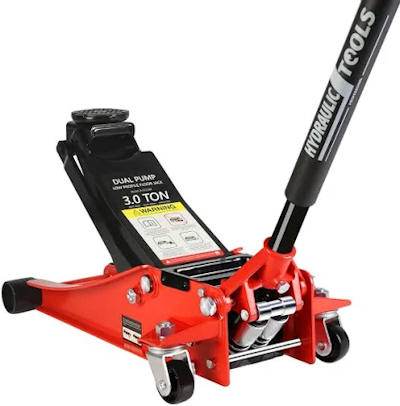
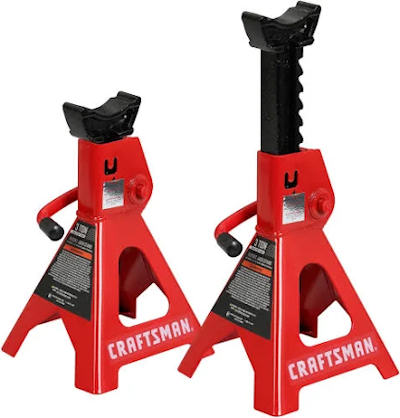
At least one good floor jack isn't that expensive, typically $125-$150 for a 3-ton unit, and al least two and preferably four quality jack stands.
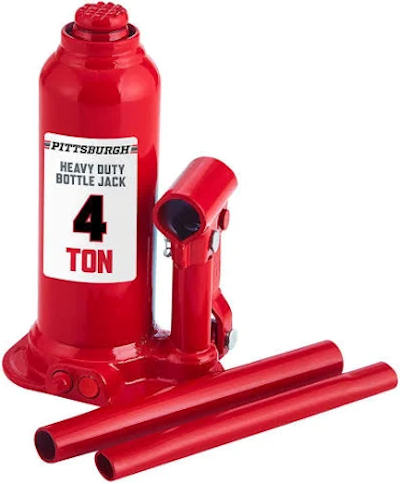
Even a good bottle jack can come in very handy when the space won't allow the floor jack to get to.
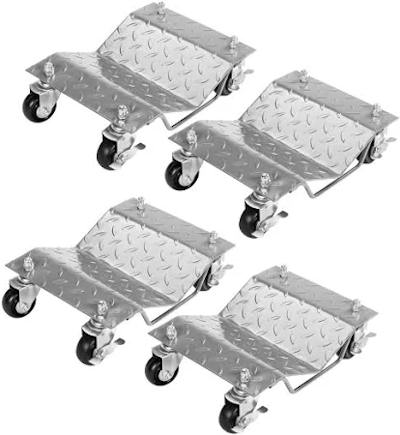
A set of car dollies can come in very handy when you need to move the chassis around your work area. These can also be used if you have to store your car for the winter to keep the tires from getting flat spots,
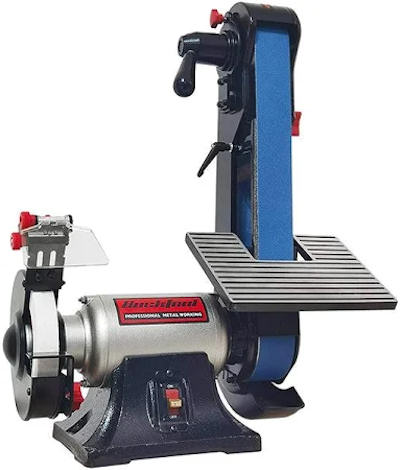
A good bench grinder and maybe even a bench grinder/sander can be used to clean some rusted items like bolts, braces, etc. with a wire wheel or polish bright items such as trim pieces. One with a sander can use the belt sander to sand and polish small parts as well.
Taking on Someone Else's Project
A project that is assembled is much easier to work with and you will know exactly what has and has not been done and it all small pieces are there. On a car that you purchased that is in primer and “ready for paint” is usually not and you have no way of knowing if the prep work was done correctly. If they did not acid wash the metal and remove all traces of oil or other contaminants from the body prior to priming, the paint will never stay on the car.
Where to Start
Once you have decided to start your project, get organized. Tag and/or bag every piece you remove along with a note of when it was removed so you can reinstall the pieces in correct order. After you have gotten the dash assembly back in the car is not the time to remember you need to replace/repair the heater controls or the radio. Get an inexpensive digital camera and document disassembly details with photos. They are cheap and you can take as many photos as you need with the only expense being batteries for the camera. Download them to your PC after each work session and note what you did and any difficulties encountered in the day’s work. In 6 months or a year from now when you are putting it back together, trust me, you will forget something or forget how it came apart. I also make separate files for the photos to make them easier to find when needed such as; body, chassis, drivetrain, interior, etc.
Repair or Replace
Aftermarket suppliers do not always have the same quality parts as originals. Even new, old stock (NOS) replacement pieces, especially body panels, do not match the fit, finish, and quality of original body panels.
Factory Correct Parts
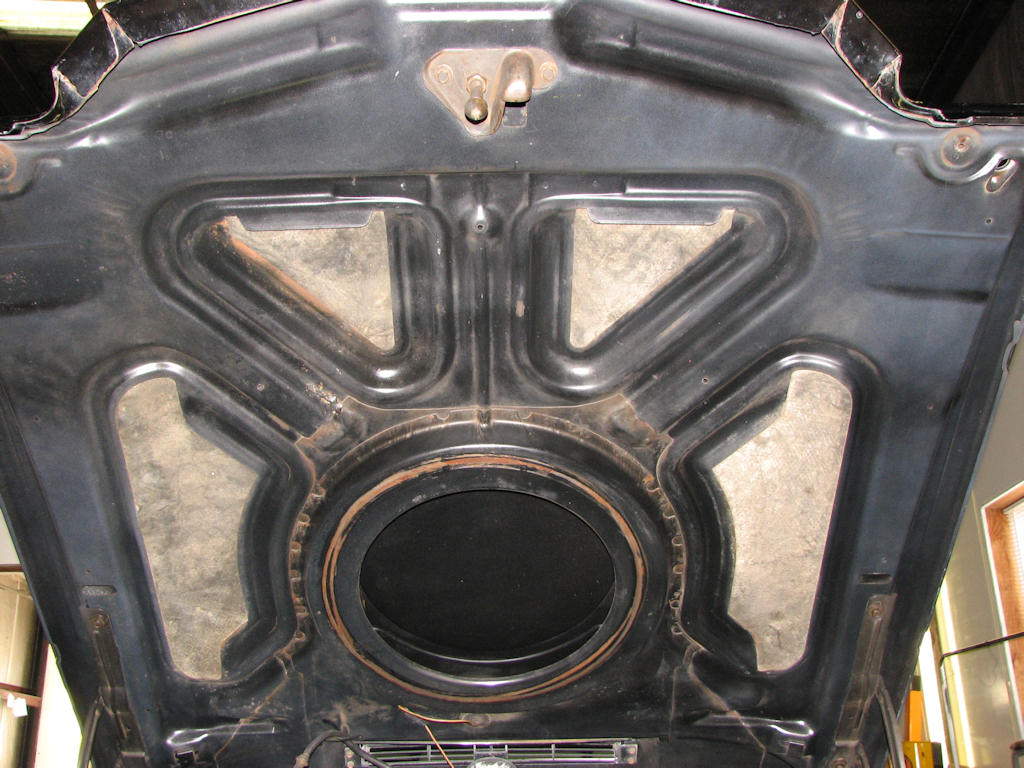
Early version of the underside of RPO ZL2 hood. Note different shaped
cutouts and no “creases” for a crush zone. This allowed the front of
the hood to buckle on impact and distribute the energy.
Underside of the early version of the RPO ZL2 hood had different-shaped cutouts and no crease for a crush zone which would have allowed the front of the hood to buckle on impact and distribute the energy.
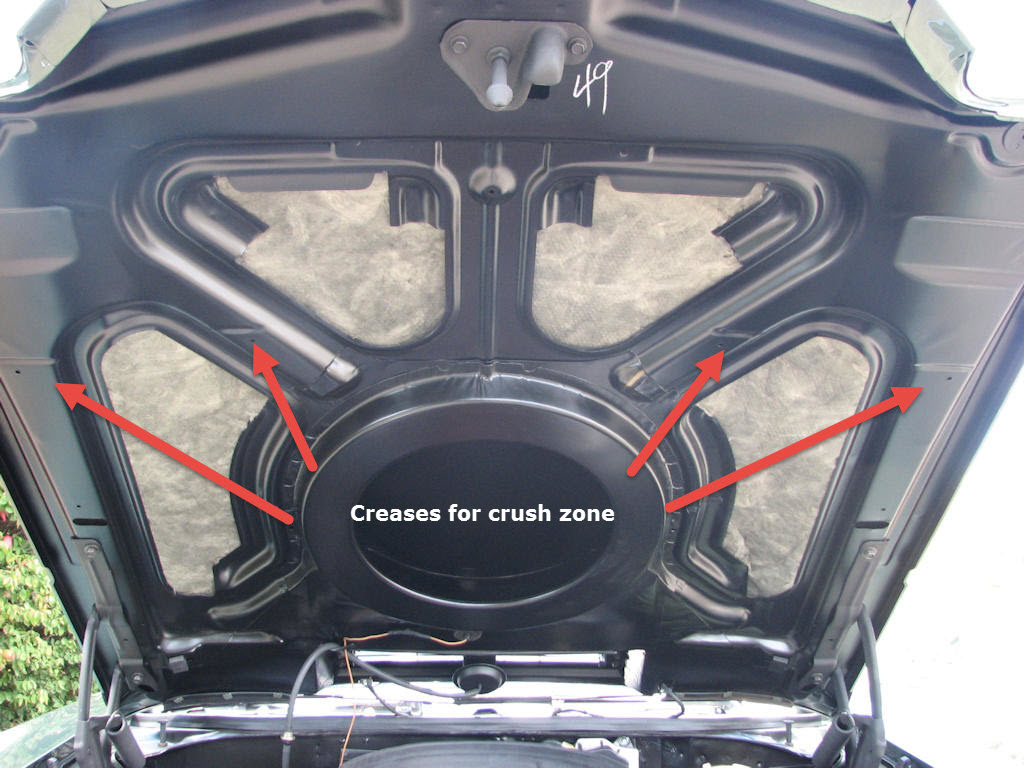
Late version of the underside of RPO ZL2 Special Ducted Hood Air
system. Note different cutouts shapes and the horizontal “creases” to
create a crush zone. Also note the four cutouts are a new design.
The late version of the RPO ZL2 hood has different cutout shapes on the underside with horizontal creases to create a crush zone. The late version also has different cutout areas; the change was made in the April/May of 1970 timeframe. Plants would continue to use the older version until supplies were exhausted.
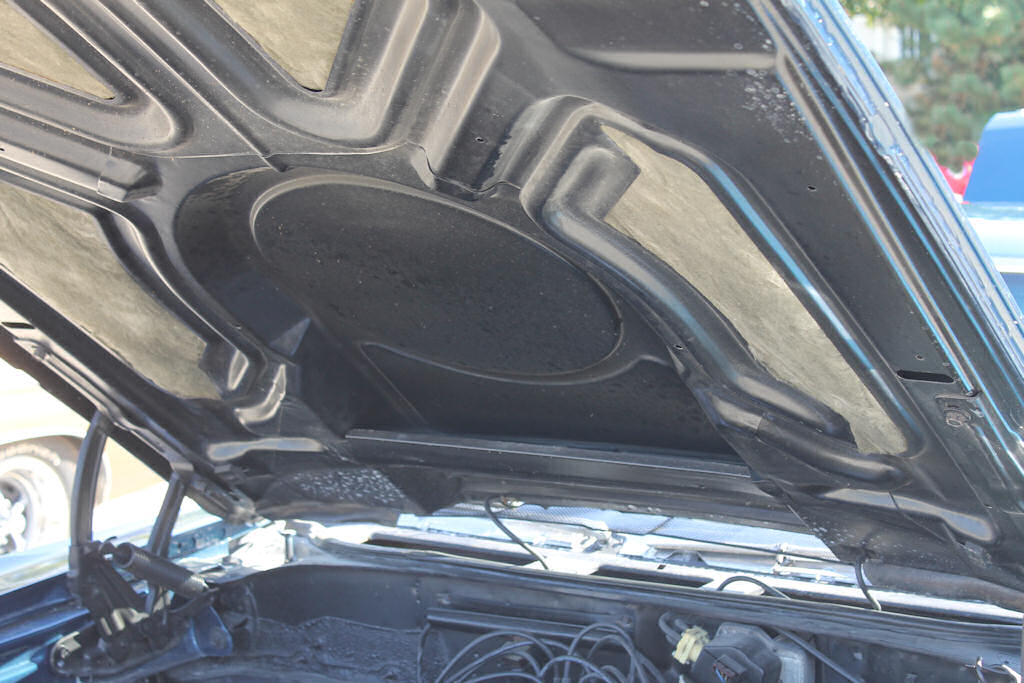
Early version of the underside of a standard SS “domed” hood. No
“creases” for a crush zone and redesigned cutout areas. The change from
‘early’ to ‘late’ occurred around the April/May time frame.
The standard SS domed hood and standard plain 1970 hoods saw the same changes.
Aftermarket suppliers are becoming more aware of the demand for correctly marked pieces and offer quality reproductions with correct markings such as engine hoses, fuel lines, etc.
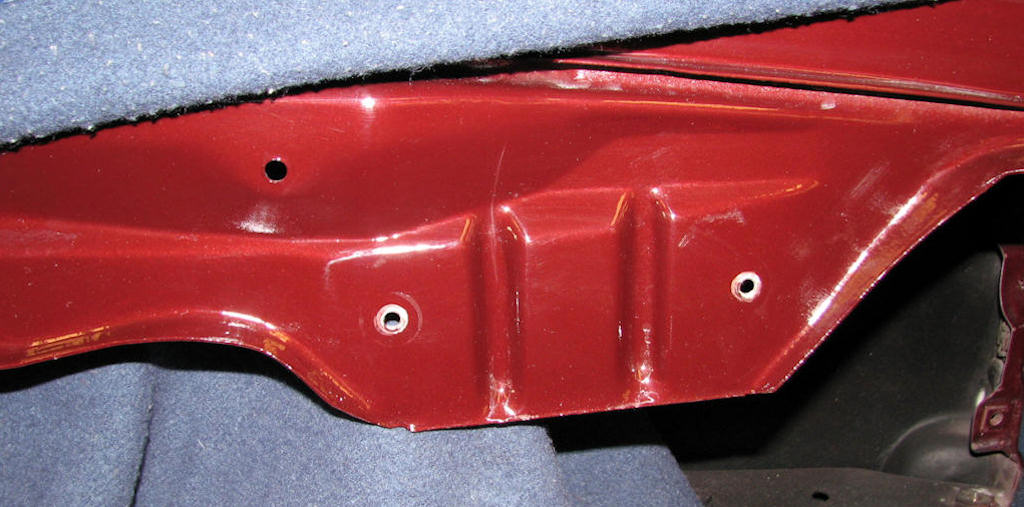
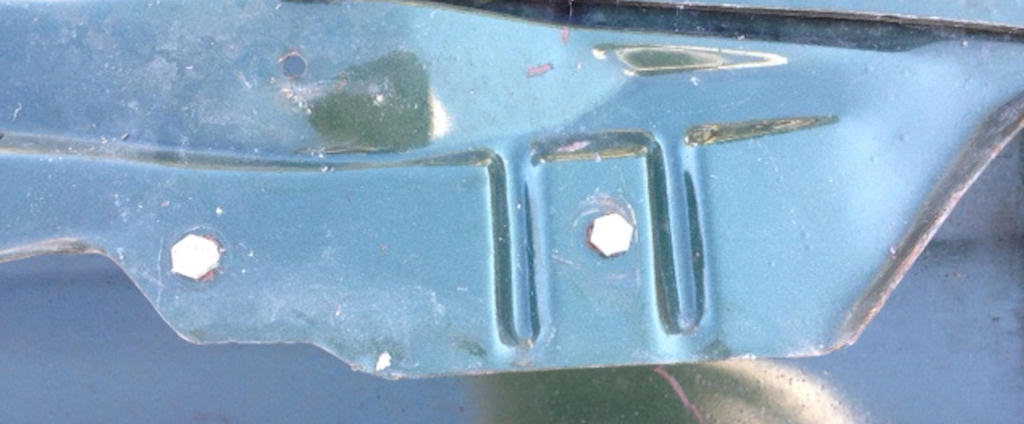
Compare the original equipment driver side fender (top photo)with
a typical aftermarket replacement (bottom photo).
Not only are the two windshield wiper fluid bottle holes
located incorrectly but the overall bracing structure of the sheet metal
itself is vastly different.
I cannot emphasize enough, save all your old parts until the restoration is completed. Many times I refer back to the original part when I receive in a replacement part or a donor part from another car. This will ensure that what goes back on the car originally will be a facsimile of what came off. You may also be able to use parts of the old part if needed.
Finding Discounts on Parts
Find Work Space and Parts Storage Space
Set aside a good portion of your garage, barn, or whatever space you reserve for your restoration/rebuild project especially if you plan on doing the majority of the work. A disassembled project can take three to four times the space of a parked car. Not to mention if your project is sharing the same space as your kid's bikes, your washer/drier, Christmas ornaments and lights, etc.
Set up shelves to put items on once they are removed from the car.
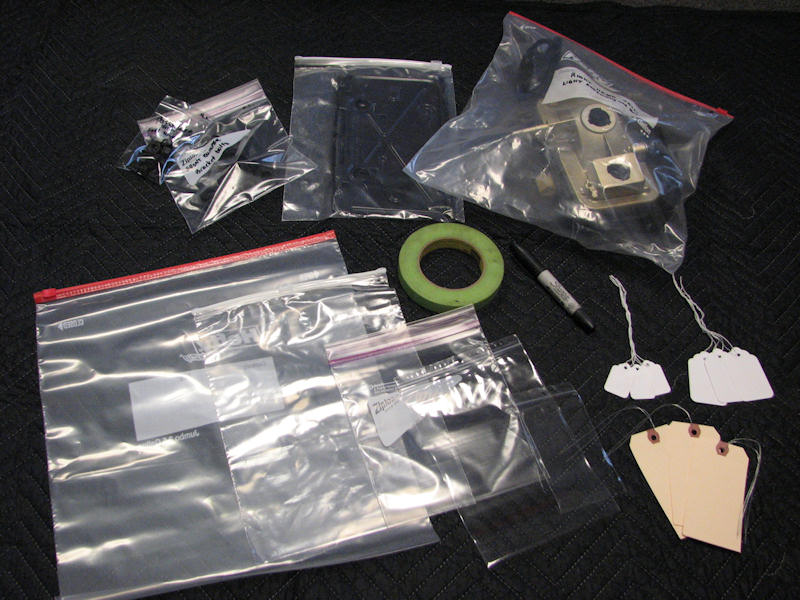
A good variety, and quantity, of items you should amass before disassembling
your Chevelle. Plastic bags of various sizes for nuts, bolts, and any
number of small parts, non-stick tape to keep smaller items together
in a group, a few felt tip pens wire and string tags to attach to larger
pieces will come in very handy in 6-12 months when you are ready to
reassembly your Chevelle.
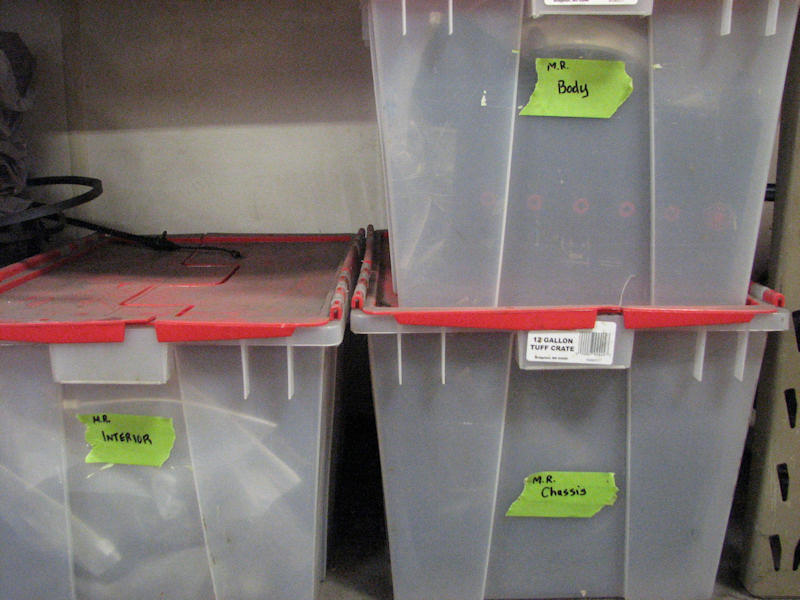
Large portable storage boxes can be used to store larger pieces
both before they are refurbished and when they may come back from being
refurbished. Engine pieces being sent out (or stored) for such as starter,
carburetor, distributor, etc. can be stored in one container while things
like chassis/suspension pieces can be stored in another. All those plastic
baggies you’ve filled with small pieces can be stored in the larger
boxes so they don’t get lost.
Never put a bunch of nuts/bolts/etc. in a coffee or paint can and label it something like "suspension." It will come back to bite you six months or a year down the road.
Photograph and Document Everything
It may be a bit extreme and take some additional time but if you have an inexpensive video camera, that can be a valuable tool as well to remember how something came apart.
Before you ship parts off to someone for straightening, plating, etc. be sure to photograph and document what is being sent out. If possible send photos along with the parts to your outside source so they know what parts they should be getting and what to do with them. It will go a long way in insuring you get back the same parts since the outside source knows that you know what you sent them. If the part is a critical date-coded or unique part, you can go to an extreme and engrave your SSN or some other identifying method in an inconspicuous area to insure you get back your part and not just something from a parts bin.
Markings and Overspray
If you are doing a concours restoration on your Chevelle, these various paint daubs, overspray, and other markings are important. If you are farming out your chassis and suspension parts for blasting, knowing where and what colors were used will aid in reassembly. The same for body and paint work. If you're farming out that job, letting your body shop and painter know what overspray you found and where will guide them.
Be sure to photograph any markings, paint daubs, overspray for future reference. On original cars, I also photograph and document bolt-head markings on large and small pieces. Bolt-head markings may different from one side of the car to the other; sometimes different workers worked on two sides of the process and maybe the OEM supplier of the bolts were different. It's not a question of who would know or who would look at two different bolts and notice one has an "R" marking and one does not, you will know you did your research and documentation correctly.
Keep a notebook handy and take notes of everything. During the disassembly process you can note what to keep and just clean, what needs to be sent out for refurbishing, or what needs to be replaced and a good description of that part. Another thing to note is just how did the assembly come apart and in what order. There is nothing more frustrating than to complete an assembly and find you have a couple of washers and maybe a bolt or screw left in the bag.
| Chapter 2 - Preparation © Chevelle Restoration |


 |