Body Disassembly

Large plastic dairy crates are great for larger heavy items but tend to gather dust when stored for a time. Heavy duty boxes will help with dust issues but you cannot see what is inside the box - be sure to label it clearly. I find that those large plastic totes are the best all around and are not that expensive. I then tag them with pieces of tape and separate them by, “body, interior, chassis, engine”, etc. This makes it much easier when it comes time to reassemble car as you grab only the tote and its parts for the area you are currently working on. The clear plastic baggies can be used for the smaller items like nuts, bolts, alignment shims, etc. Be sure to note which side (driver side vs. passenger side) with items like fender alignment shims. Assuming the body panels were hanging nicely on the car when you disassemble it, I like making a shim map showing the location of the shims and what overall thickness was present in that area. This will give you a starting point come assembly time.
With camera, baggies, and a marker in hand, it is time to get started. Unless you have a dozen friends and a camera crew filming everything, do not expect to have your car stripped in an afternoon like you will often see on television. Take your time during disassembly, photographing the steps, marking and bagging the trim pieces, screws, bolt/nuts, etc. as you go.
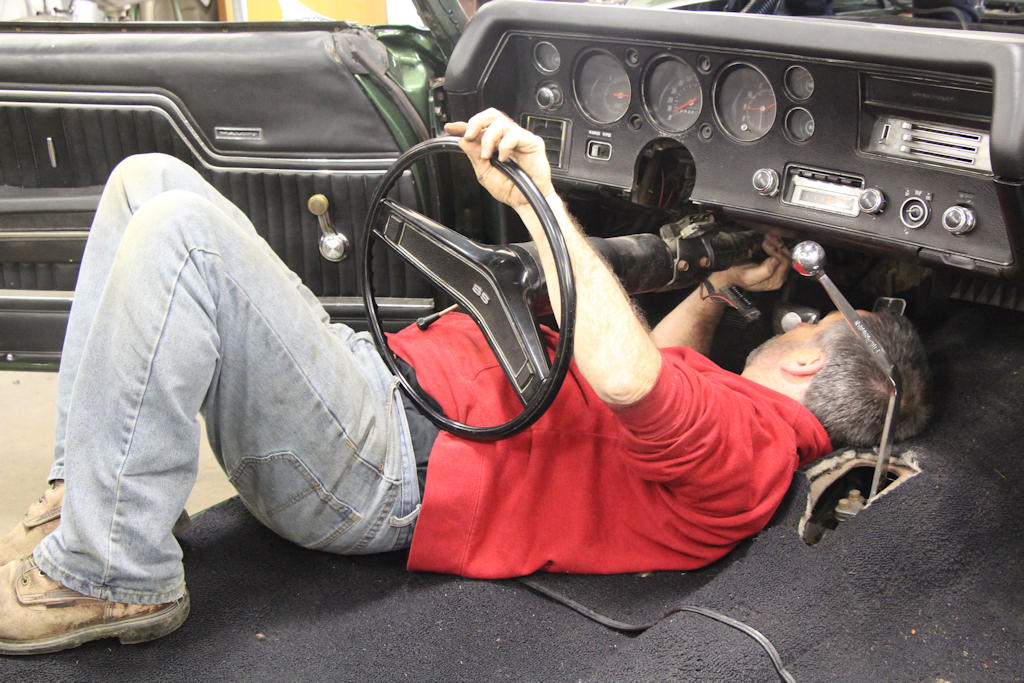
Often you'll find yourself in some possibly
uncomfortable positions such a lying on your back while removing the
steering column. The seats have been removed to help a bit and the carpet
is still in place for at least some cushioning. Expect to get dirty,
so wear clothing appropriate for the day's tasks.
Removal Methods
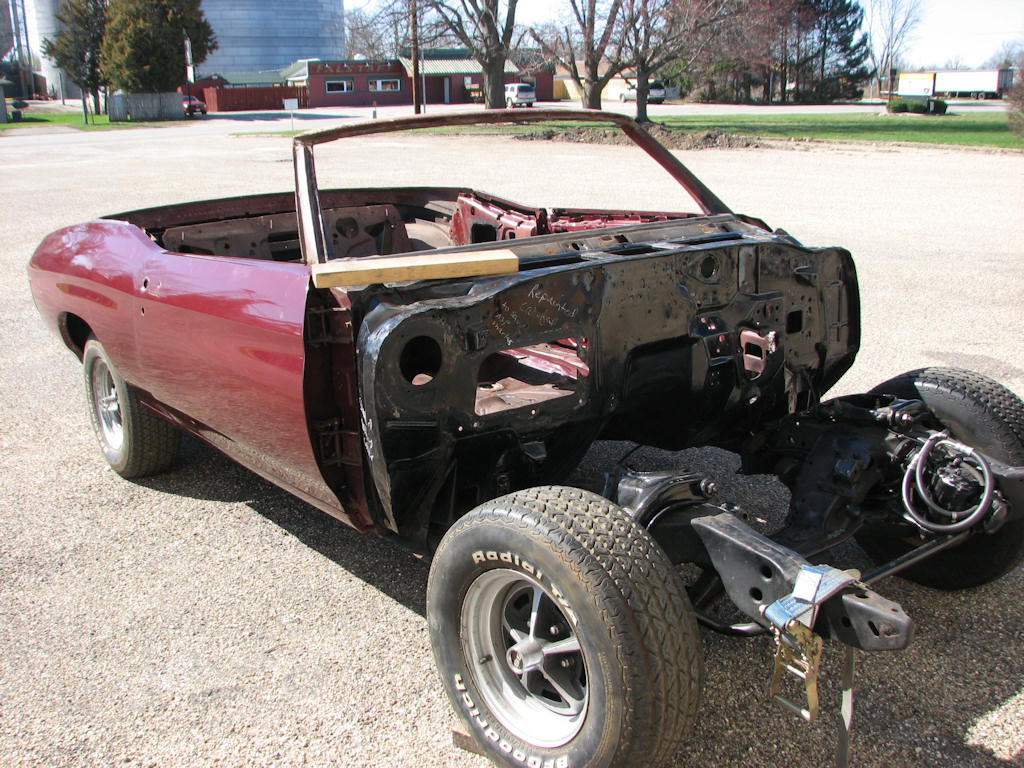
This
‘rolling chassis’ is in final prep stages to remove the body. On this
particular car the engine and transmission have been removed prior to
removing the body. As long as all physical connections between the body
and the drive line have been disconnected, it is simply a matter of
choice whether to remove the engine and/or transmission beforehand.
Two Heavy Duty Bumper Jacks Lift
Since this is a convertible body, extra
bracing should be temporarily welded at critical stress points of the
body to keep the body from bending during removal. This needs to be
done before the body is removed from the frame. Once removed the body
can be attached to a rotisserie jig for easy access.
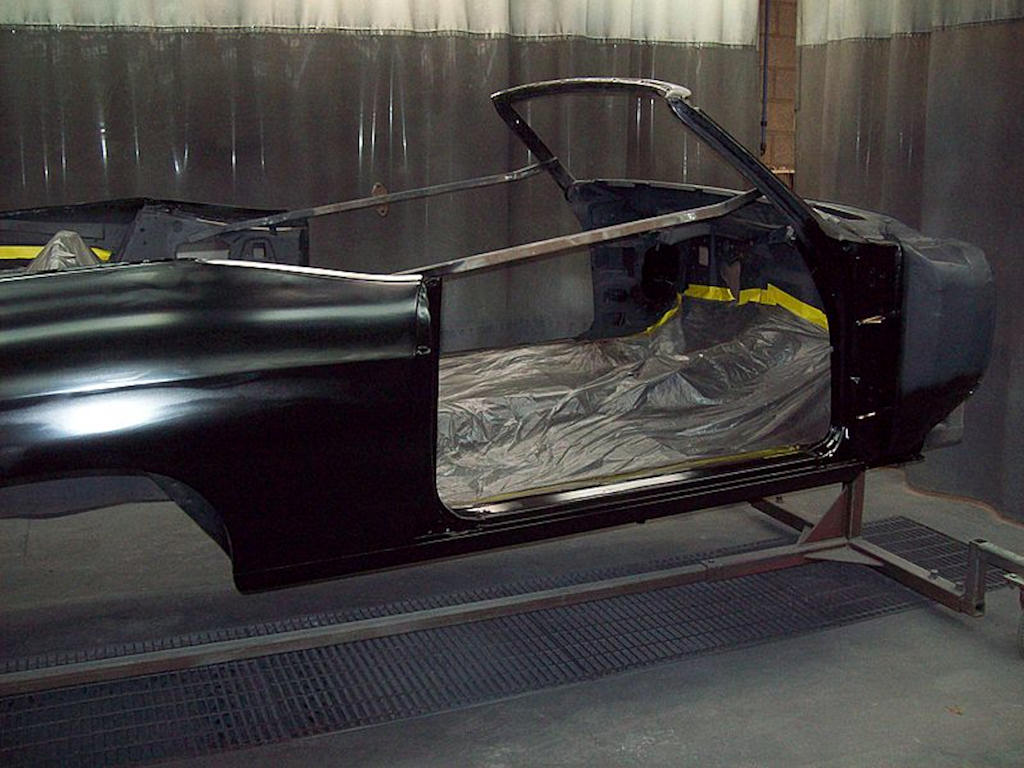
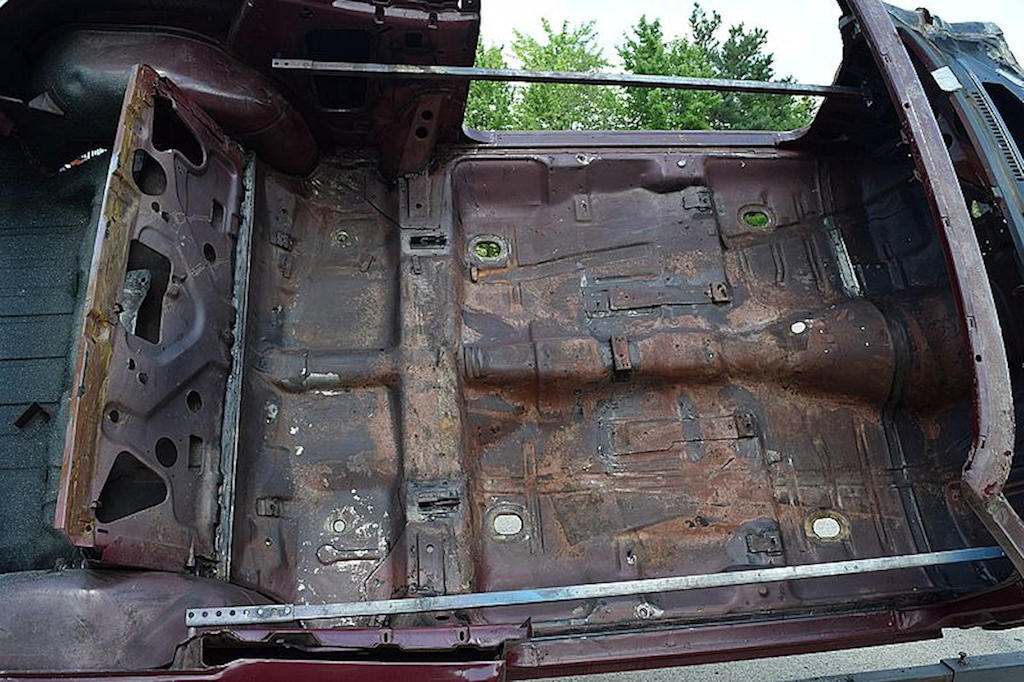
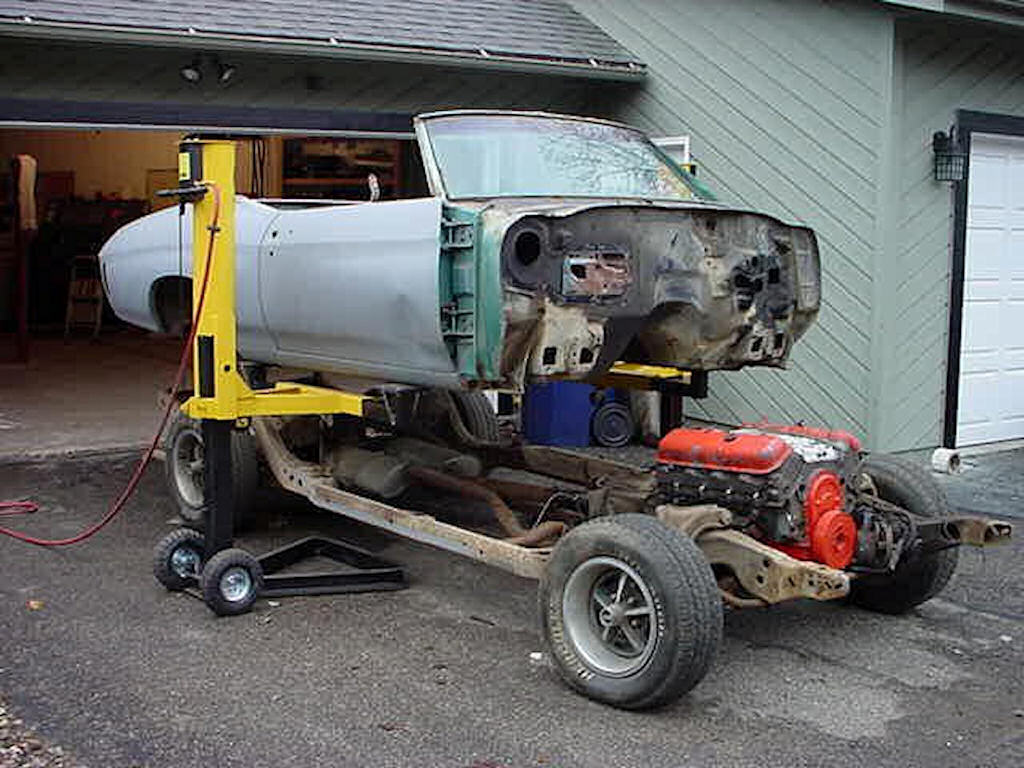
A convertible body once it properly braced
and off the frame. This illustrates the amount of materials that should
be removed from the body and interior components before the body is
removed from the frame. Everything you can remove from the interior
prior to lifting the body off is less you have to deal with once it
is off.
Two-Post Lift
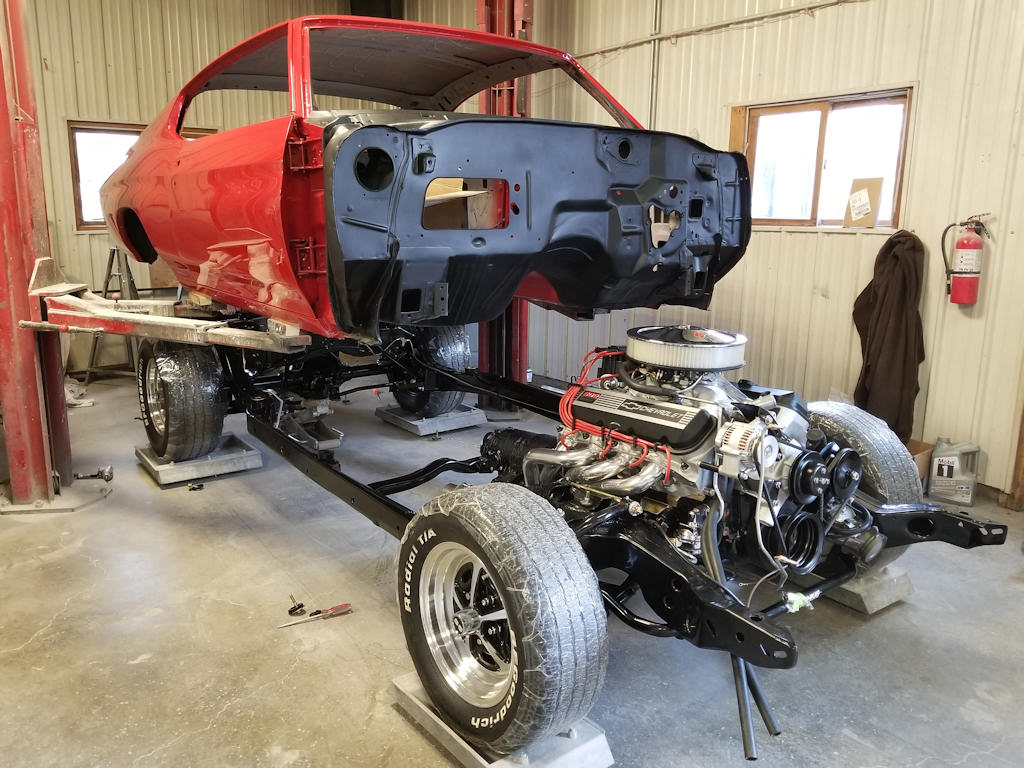
Not the most preferred method as this
puts additional strain on whatever sheet metal the lift is attached
to. It is always a good idea to have a rotisserie jig or some stand
ready to support the body once you roll the chassis out from underneath.
Sometimes you just have to do what you can and use the tools available
to you at the time.
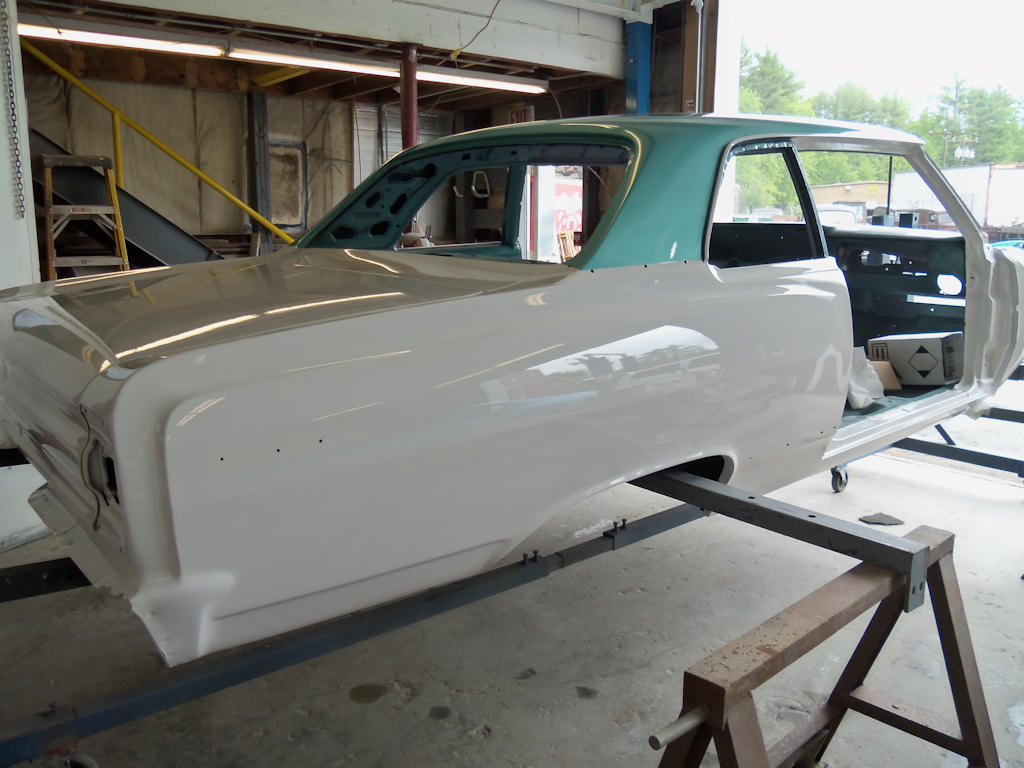
If you are on a tight budget one storage
solution for the body is homemade saw horses. This alternative works
pretty well, is inexpensive to build and still gives you access to so
do some cleanup work. If you need to replace much sheet metal or something
like replace quarter panels this may not be a viable solution for obvious
reasons.
| Chapter 3 - Body Disassembly © Chevelle Restoration |


 |