

Chassis, Suspension, and Brakes
Motor Mounts Removal
Since the lower control arms are no longer in the way, this will give you much better access to the frame mounted motor mounts. Take note and photograph the orientation of the bolts holding them on, which side has the elongated engine through bolt and if there is a battery cable bracket mounted on the passenger side mount and how it is mounted. Remove all eight nut, bolt, and washer combinations from both mounts and remove them from the frame.
Fuel Hard Lines
You now have all the large and heavy items out of the way. It is now time to remove all the small brackets, clips and lines from the frame. Starting with the fuel lines, there may be one or two hard lines depending on engine size and date of assembly. Here again you will want to photo document the placement of the lines, line brackets and straps as well as the bolts as they will vary along with the attachment points and the color of the clips. You will be able to use these photos for later refinishing and reinstallation of them.
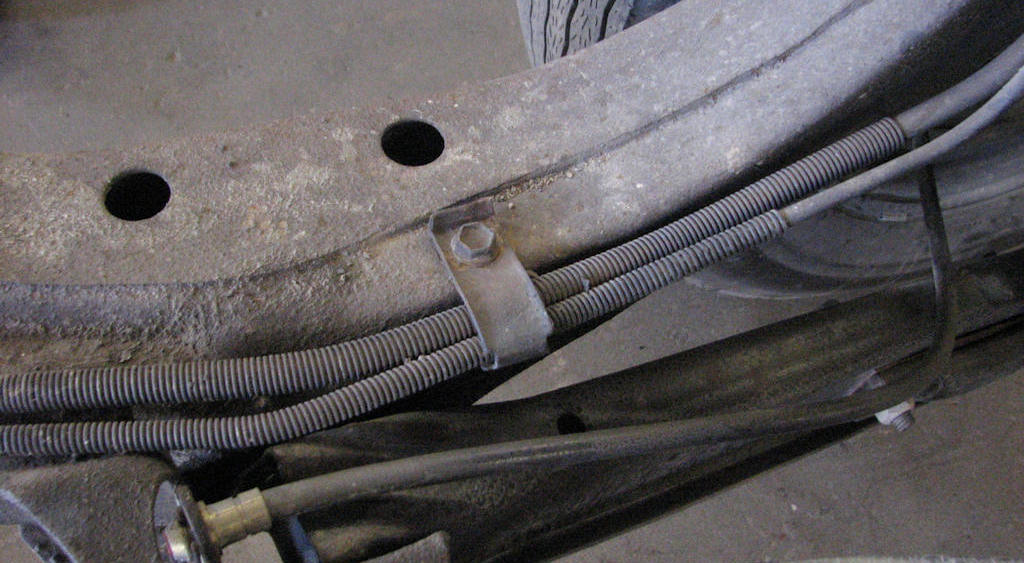
Just like on the brake lines this bracket may be the flat type
or the full round encased type like in this photo. There seems to be
no rhyme or reason as to which was used so document which your car
has as well as the attaching bolt.
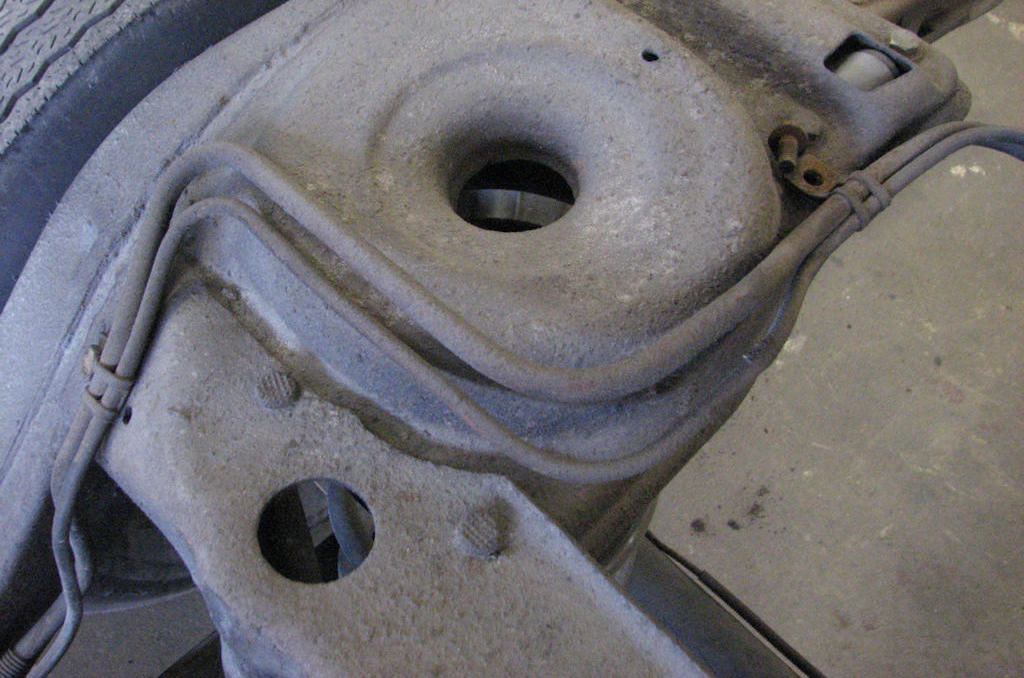
Make note of how your fuel lines run and take special note of
the area around the passenger rear coil spring tower as this can get
interesting when installing the new lines. Photo documentation of
how the originals were routed will aid in your installation of the
new ones.
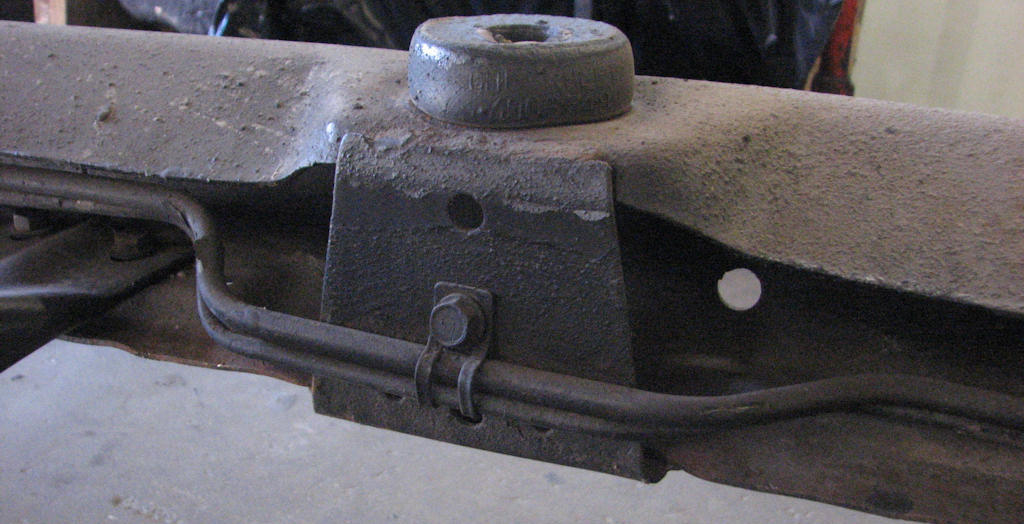
The fuel line clips are different depending on if used on a
single line or dual line so document what type you have, the color
of each clip and the placement and bolt head design of each. Also
note if the coiled sleeve is on the line in the area of the clip or
not as this too will make a difference on which size clip was used..
Remove the fuel lines by lifting them up and over the axle crossmember and pulling them back out through the frame where they run along and inside the front passenger frame horn. Take note of where they run in the frame and out of the front crossmember, as this will help you understand where they need to run come reinstallation time. You will find it easier to remove one at a time but both can be done at one time. Try to not damage or bend these as you are removing them as you may want to use them to compare to the new lines to insure you not only have the correct replacement lines but also that the new ones are bent accurately. Once these are removed safely drain them and set them aside and out of the way. Make sure you document (photograph if possible) the location and orientation of the various clips.
| Chapter 4 - Chassis, Suspension, and Brakes © Chevelle Restoration |


 |



