

Chassis, Suspension, and Brakes
Brake Hard Lines
Moving onto the driver’s side of the frame, start by photographing the placement and shape of the brake lines on the frame. These can be used later on if you are having trouble with the replacement lines and how they are bent using your original photos as a reference. Now that you have that done, remove the brake lines beginning with the front. You already removed the flex lines running from the drums or rotors to the front frame brackets during the front disassembly process so go directly to the hard lines. Separate the crossover line on the front crossmember and the short line running from the distribution valve mounted on the frame on the driver’s front to the left front brake and remove the clips from the crossover line again noting their original color. If the two lines running from the distribution valve up the master cylinder have not yet been removed, go ahead and do so at this time. As before, heat may be required to get these to break lose so use the same precautions as you did before.
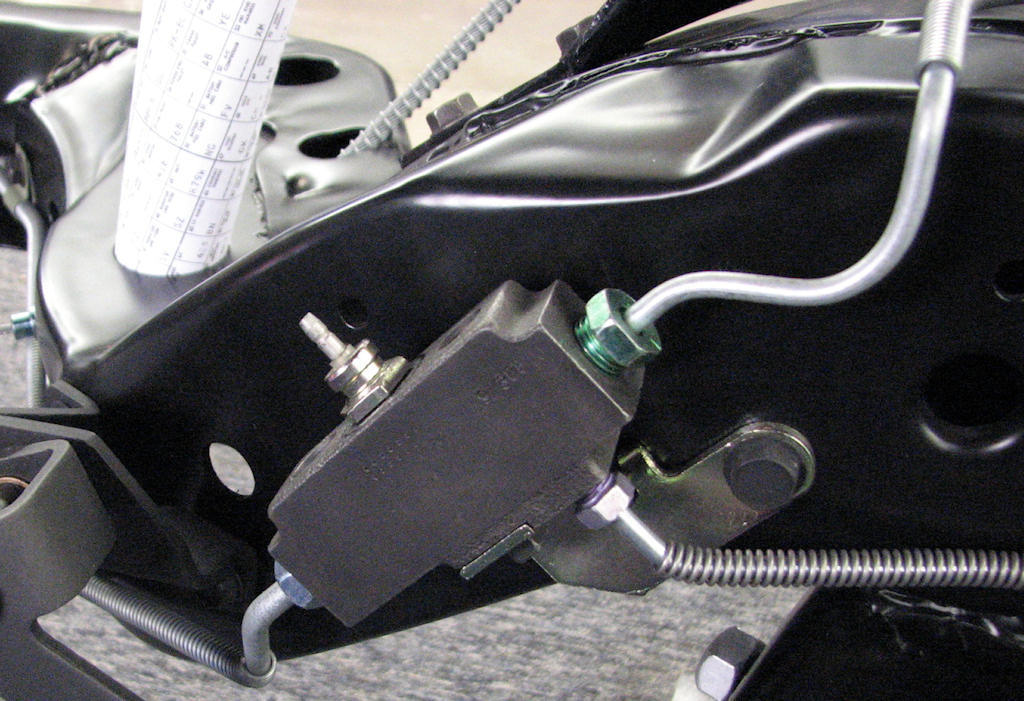
Loosen and remove all the brake lines at the distribution block
while it is still bolted to the frame. Depending on condition heat may
be required for this step so use precautionary methods when handling
a torch and hot brake fluid as severe injuries may occur if hot brake
fluid spills on you.
Moving rearward, disconnect the main line from the rear of the distribution valve. Chevelles used at least two different designs for the distribution valves, one being cast iron while the other is brass. Remove this from the frame and put it and its bolt in a separate bag and note which valve you have as they will be restored differently.
Remove the main brake line from the frame while again noting the different size brake line clamps, location, color and different bolt markings and type. Clamps are different depending on what diameter the line is at that particular location including the dimension of the protective spring sleeve and will also be color coded. These coil sleeves are installed to protect vulnerable areas of the brake line from road debris such as rocks and well as protecting some of the main bends from kinking or crushing. Tag the clamps while again noting their location and bolt usage and put into a baggie.
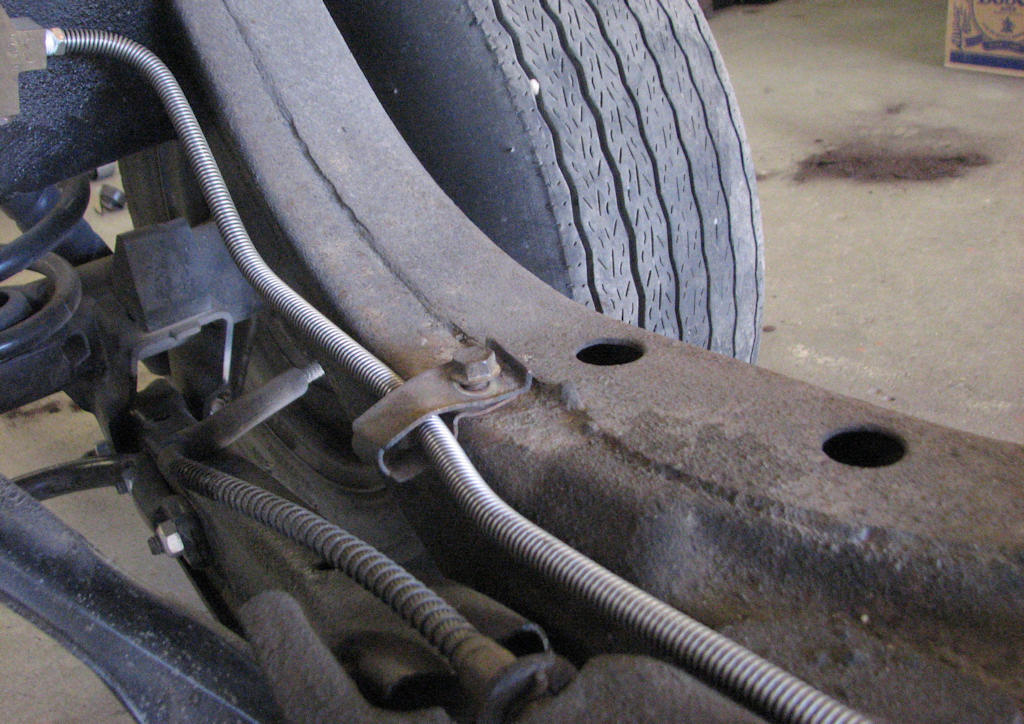
Pay attention to this bracket as there can be two different styles
used on these cars. Usually one open flat bracket and one looped closed
bracket. There does not seem to be any rhyme or reason as to which type
was used or when. The fuel line uses a similar bracket so don’t get
them confused.
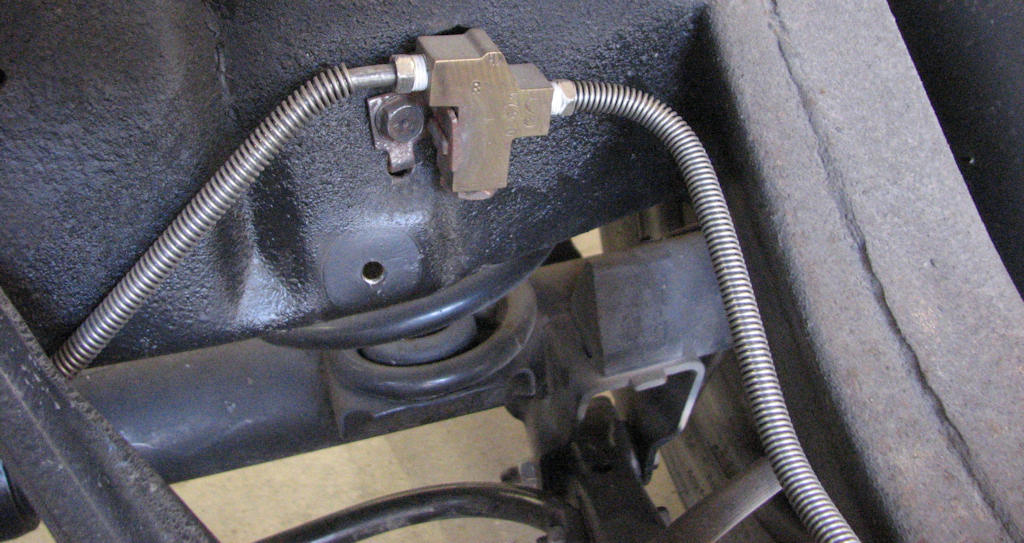
The hold off valve is found on the driver’s side rear
crossmember. Loosen the lines to and from the valve and use heat if
needed to separate them. In rare cases these valves will need to be
replaced or rebuilt. Both rebuild kits and replacement valves are
available aftermarket. Place in your baggie with your other brake
line pieces.
On disc brake cars another valve was used at the driver’s side rear crossmember just in front of the driver’s rear wheel. This valve is called the brake hold off valve and is only found on cars with Disc brakes so if not there it is because you have four wheel drum brakes or someone incorrectly replaced brake lines and left it out. Lack of use of this valve on disc brake cars will cause the car to nose dive during braking. As in other areas heat may be required to loosen the lines. Since you have already removed the rear flex hose at the time you dropped the differential from the frame your brake line removal is now complete. It is a good idea to put the flex line and bracket in your baggie tagged for brake line hardware.
Congratulations, this should now mark the completion of your frame disassembly and hopefully with very little difficulty. From here the restoration of the frame and all associated bolt on hardware items will begin.
| Chapter 4 - Chassis, Suspension, and Brakes © Chevelle Restoration |


 |



