

Chassis, Suspension, and Brakes
Ball Joint Replacement
With the bushing and cross shaft out of the way move onto the ball joints. During any restoration it is a good idea to replace both upper and lower ball joints since you now have the suspension completely torn down. Originals will likely be worn and since you are so deep into the project this is the best time to attack them.
The replacements may or may not be in good working order but why take a chance especially considering the low cost to replace them at this time. Originals were held on by rivets while replacements are held on by hardened bolts and nuts. Originals were also ¼” in diameter while replacements are generally 5/16” in diameter requiring the holes in the control arms to be enlarged. With an aftermarket simply remove the bolts and remove the joint.
Even if you think your ball joints may be in good shape it would be suggested to replace them now as these are inexpensive and far cheaper to replace now than after the car is assembled. If the joint is an original it will require either grinding off the rivet head, which can be difficult due to space, or chiseling off the head. When replacing the old joint with a new one, enlarge the four holes to accommodate the larger bolts and reattach the new joint.
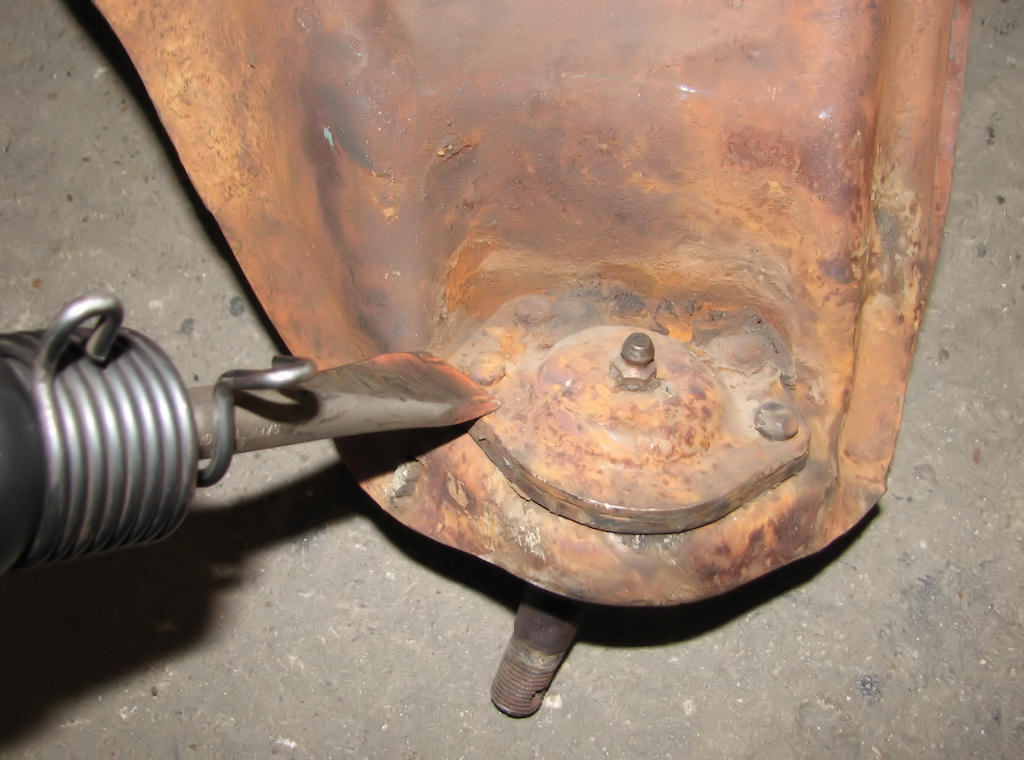
Using a pneumatic air chisel, cut the heads off
the rivets. It may also require pushing the rest of the rivet remains
through its hole using a pneumatic pin punch. The ball joint will separate
when all four heads have been cut off and removed. If the joints had
been previously replaced with aftermarket units simply remove the bolts
and replace the joint.
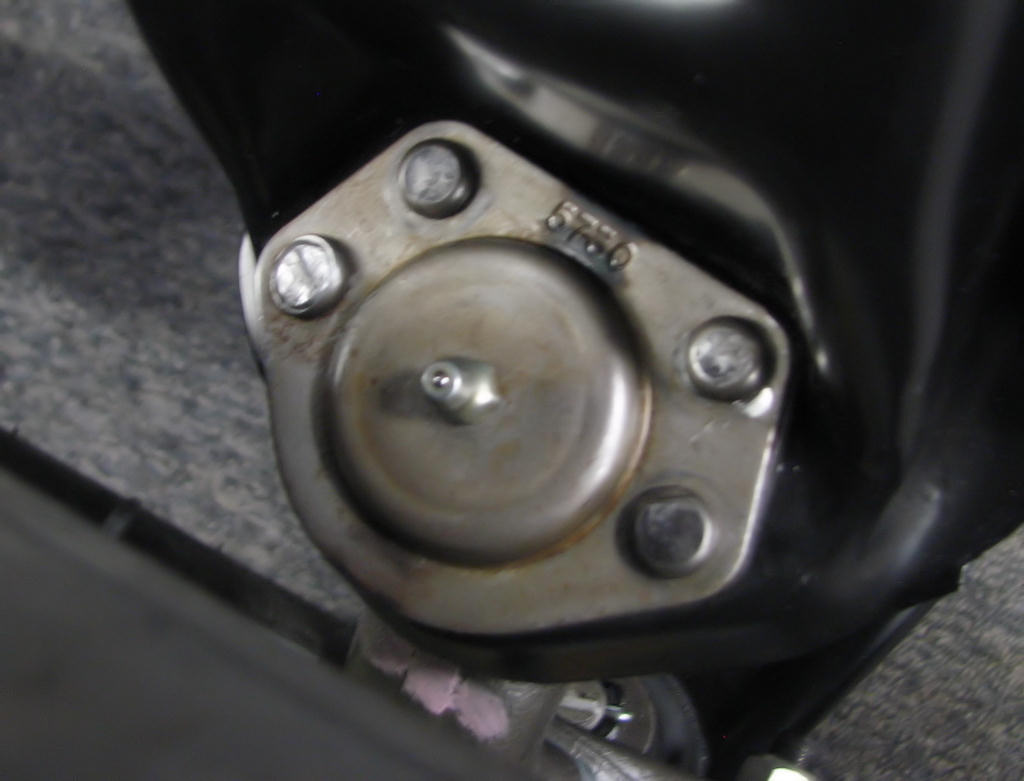
Most home restorers will not have the capacity to
install the upper ball joints back with the same style factory rivets
that were used on the assembly line. If you must go this route, locate
a shop with the rivets and tooling that can do this step for you.
I will not go into replacing the ball joints with NOS versions using
the rivet method of attachment as there are very few people in the country
who offer this service and without the proper tooling and rivets the
average home restorer is not capable of re-riveting their own rivets.
Original ball joints are also nearly impossible to find today and very
expensive. If you desire having original ball joints installed search
the net for these as well as shops who offer this service.
Lower Control Arm Assembly
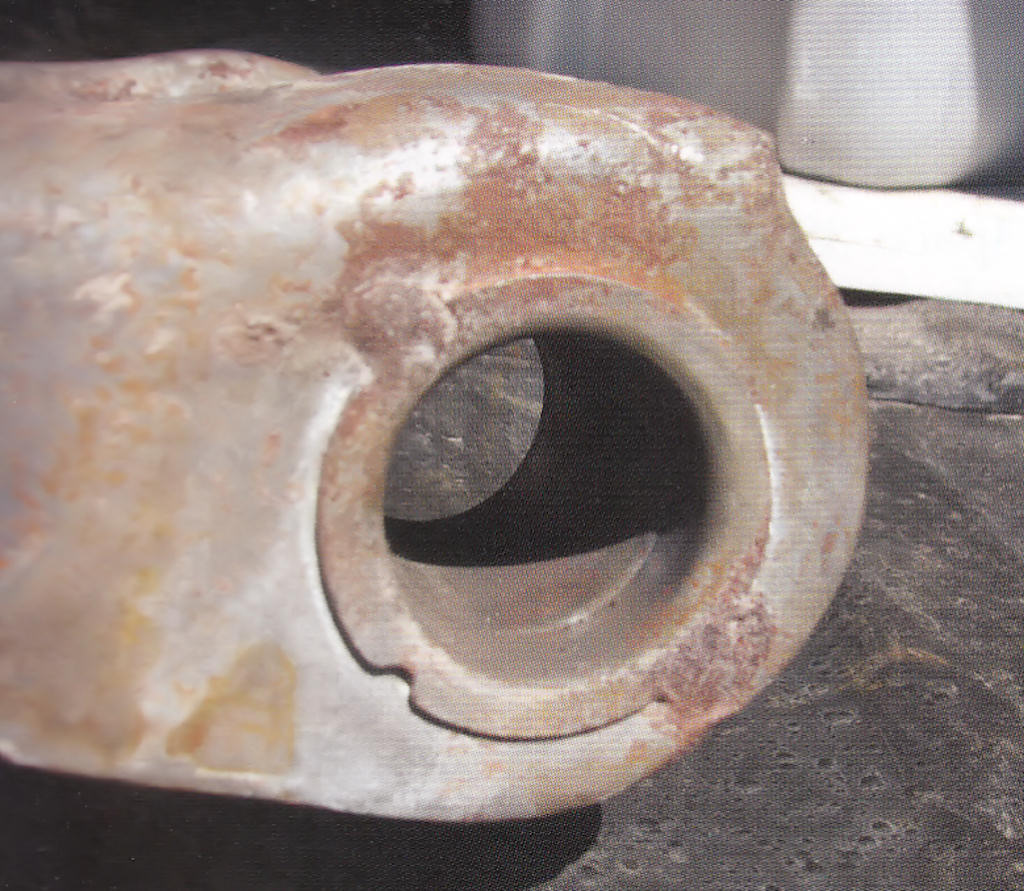
Before attempting to remove your bushing, check
to make sure if any are spot welded in. This was fairly common on the
front lower control arms, and these will have to be ground off in order
to remove the busing from the control arm.
The easiest way to remove the bushing if you do not have the tools designed for it is to take your pneumatic chisel and make an indentation in the bushing in line with the through bolt and on the inside portion of the arm where the bushing protrudes. This will not only help collapse the bushing in on itself but will also help knock any rust loose. Once this has been accomplished you can push or walk the bushing out with your chisel. Though both bushings are of different sizes they are removed the same
As with the upper control arm, check the lowers for any damage that needs to be addressed before proceeding with restoring yours. Pay special attention to the bushing bores for any damage as this will need to be repaired before attempting to press in new bushings.
Again, it is advised to remove and replace the lower ball joint at this point in your restoration now rather than later. This can be easily accomplished with a press and with a little more effort a pneumatic driver. If you cannot obtain either of these tools it would be advisable to bring the control arm to an auto repair facility and let them remove and replace the ball joint.
| Chapter 4 - Chassis, Suspension, and Brakes © Chevelle Restoration |


 |



