

Appendix C - Part 1/Engine Assembly Process
(2) - Engine Suffix Codes
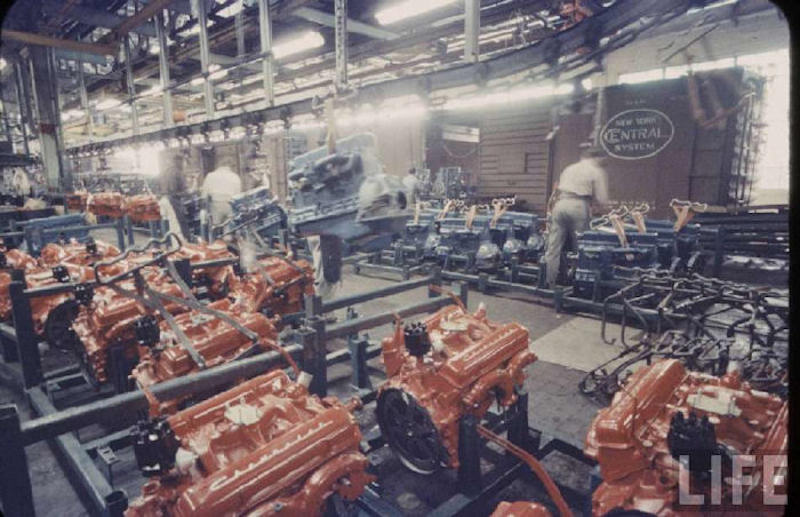
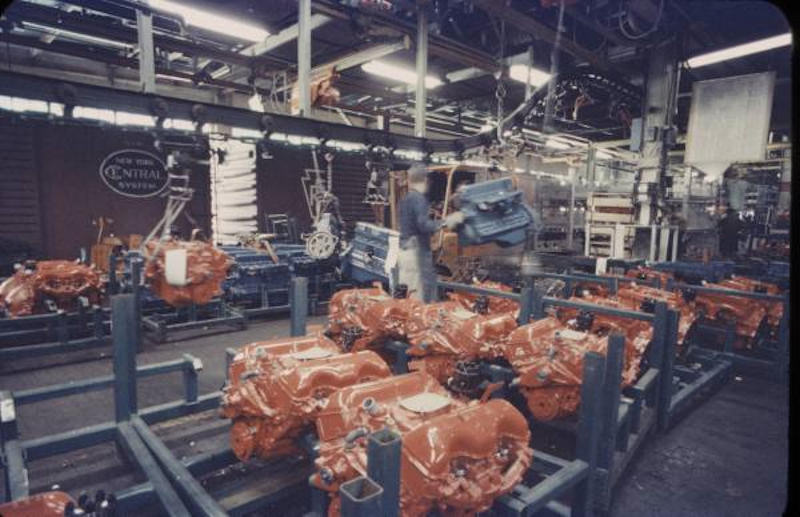
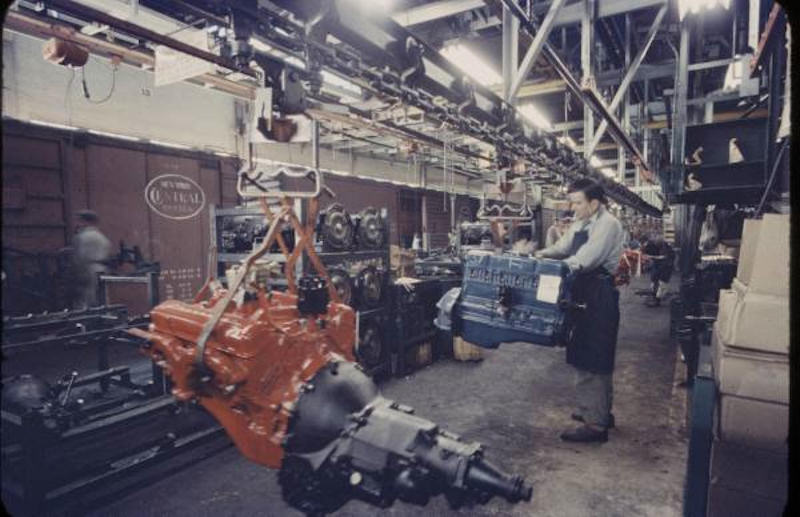
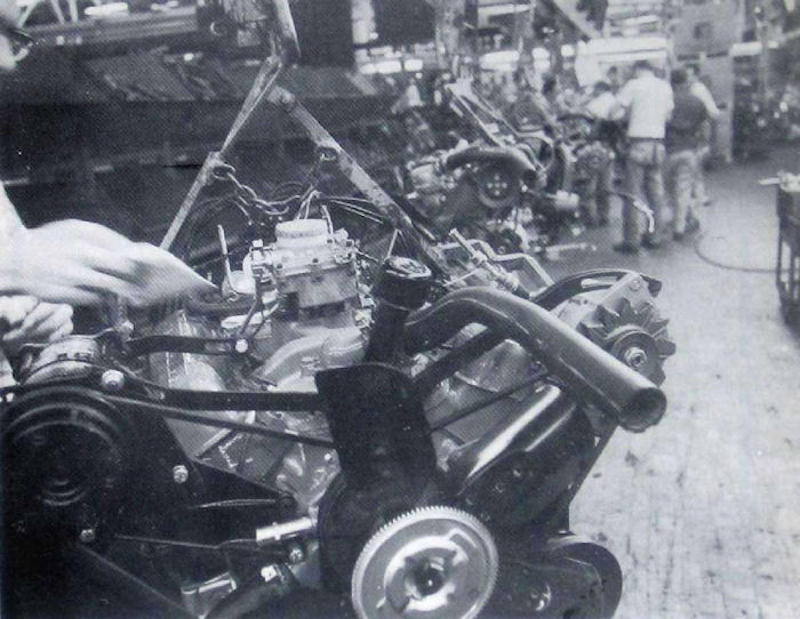
The following assembly for Flint and Tonawanda engine plants is general in nature as small variations were usually made from year to year.
| Flint | Tonawanda |
| Raw castings enter plant | Raw castings received from other parts of Tonawanda engine plant |
| Block machining (boring/broaching) in 1 to 2 days and washed | Block machining (boring/broaching) and washed |
| Block begins upside down. Bore sizes on oil pan rail broadcast ahead to piston hook up area. | Oil galley plugs |
| Galley plugs | Transmission alignment pins |
| Camshaft | Camshaft |
| Main bearing caps removed, crank installed, caps reinstalled. | Main bearing caps removed, crank installed, caps reinstalled. |
| Flywheel & pressure plate or flex plate | Flywheel & pressure plate or flex plate |
| Cam & crankshaft gears, timing chain | Cam & crankshaft gears, timing chain |
| Piston installation | Piston installation |
| Front engine cover and seal | Front engine cover and seal |
| Harmonic balancer | Harmonic balancer |
| Oil pump shaft and oil pump | Oil pump shaft and oil pump |
| Windage tray bolts if applicable | Windage tray bolts if applicable |
| Oil pan and hardware | Oil pan and hardware |
| Clutch housing | TDC determined, timing pointer |
| Engine turned upright | Engine turned upright |
| TDC determined, timing pointer | Camshaft lifters |
| Camshaft lifters | Build date/suffix code stamped * |
| Cylinder heads installed | Cylinder heads installed |
| Rocker arms & balls installed | Rocker arms & balls installed (studs already installed) |
| Intake manifold installed (oil filler tube if applicable, water outlet, thermostat, and lifting brackets already affixed) | Valves adjusted |
| Valves adjusted | Intake manifold installed |
| rocker arm covers installed | Water outlet & thermostat installed |
| Miscellaneous brackets and switches installed | Water pump installed |
| Build date/suffix code stamped | Spark plugs installed |
| Water test with vacuum gauge | Distributor installed |
| Oil cavity test | Miscellaneous brackets installed |
| Paint assembly | Exhaust manifolds |
| Distributor installed | Vacuum test |
| Coil & plug wires | rocker arm covers |
| Spark plugs | Paint assembly |
| Temperature switches | Hot test |
| Water and oil drained | Water and oil drained |
| Exhaust manifolds installed | Racked & readied for shipment |
| Spark plug wire supports, heat shields, other miscellaneous brackets installed | |
| Component verification | |
| Racked & readied for shipment |
All small-block (283/307/350/400) V8 engines have the date and suffix code stamped on the right portion of the engine pad as you face it in the car. The final assembly plant partial VIN stamp would be stamped to the left side of the engine. All I6 engines have this data stamped on a machined pad by the distributor.

For engines assembled in the 70s, if it was to have an automatic transmission a flex plate was installed; if it was to have a manual transmission a pilot bushing or bearing was pressed into the end of the crankshaft and the bellhousing was installed.
| © Chevelle Restoration |
   |
1970 Chevelle SS396/SS454 Build Sheet Decode Program 1964-1972 Ship Manuals & Parts Catalog 1953-1972 Chevrolet Production Numbers |


