
Valve Adjustment - Hydraulic Lifter
Ref: Chilton's Auto Repair Manual 1964-1971

1 - Remove distributor cap and crank engine until distributor
rotor points to No. 1 cylinder terminal with points open. The
following valves can be adjusted with the engine in No. 1 firing
position:
OHV 6 — Intake No. 1, 2, 4, Exhaust No. 1, 3, 5
V8 — Intake No. 1, 2, 5, 7, Exhaust 1, 3, 4, 8
2 - Turn adjusting nut until all lash is removed from this particular drive train. This can be determined by checking pushrod side play while turning the adjusting nut. When all play has been removed, turn adjusting nut one more turn. This will place the lifter plunger in the center of its travel.
3 - Crank engine until distributor rotor points to No. 6 cylinder
terminal with points open. The following valves can be adjusted with
the engine in No. 6 firing position:
OHV 6 — Intake No. 3, 5, 6, Exhaust No. 2, 4, 6
V8 — Intake No. 3, 4, 6, 8, Exhaust 2, 5, 6, 7
4 - Readjust the lifters as follows with the engine hot and running. With engine running at idle, back off rocker arm nut until it starts to clatter.
5 - Turn nut down until clatter stops. This is the zero lash position.
6. Tighten nut down one-quarter turn. Pause ten seconds. Repeat additional quarter turn. Repeat pause and quarter turn procedure until the adjusting nut has been tightened one full turn from the zero lash position.
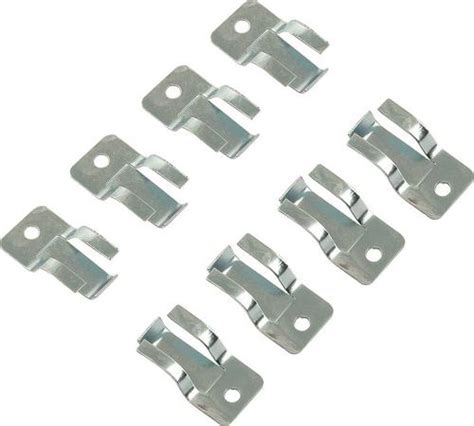
Since the oil flow is through the push rod, oil will flow up under pressure. You should purchase or borrow a set of rocker arm clips to redirect the spray such as these. Otherwise you are in for a messy oil bath.